Thursday, April 26, 2012

Ladybug Dominoes

Hello, hello! It's been one busy week for me. How about you? We got a name suggestion for the ladybug. Hannah from Indianapolis, Indiana, suggested Ms Lady Flower. That's a cute name, Hannah. Anyone else got any ideas? If you can't remember what the ladybug looks like, go to http://grammcrackers.blogspot.com/2012/02/new-friend.html  and check her out. She really needs a name, so let's have some more suggestions!

We are working on our garden. I planted from seed this year, for the first time, and it's so exciting! The cucumbers are growing so fast you can almost see them grow!


This is after just 5 days! It's like we have a little cucumber forest. And the little tiny plants next to them are tomatoes, and they are coming up pretty good, now, too. The peppers haven't peeked out yet, but the gourds are coming up. So much fun!

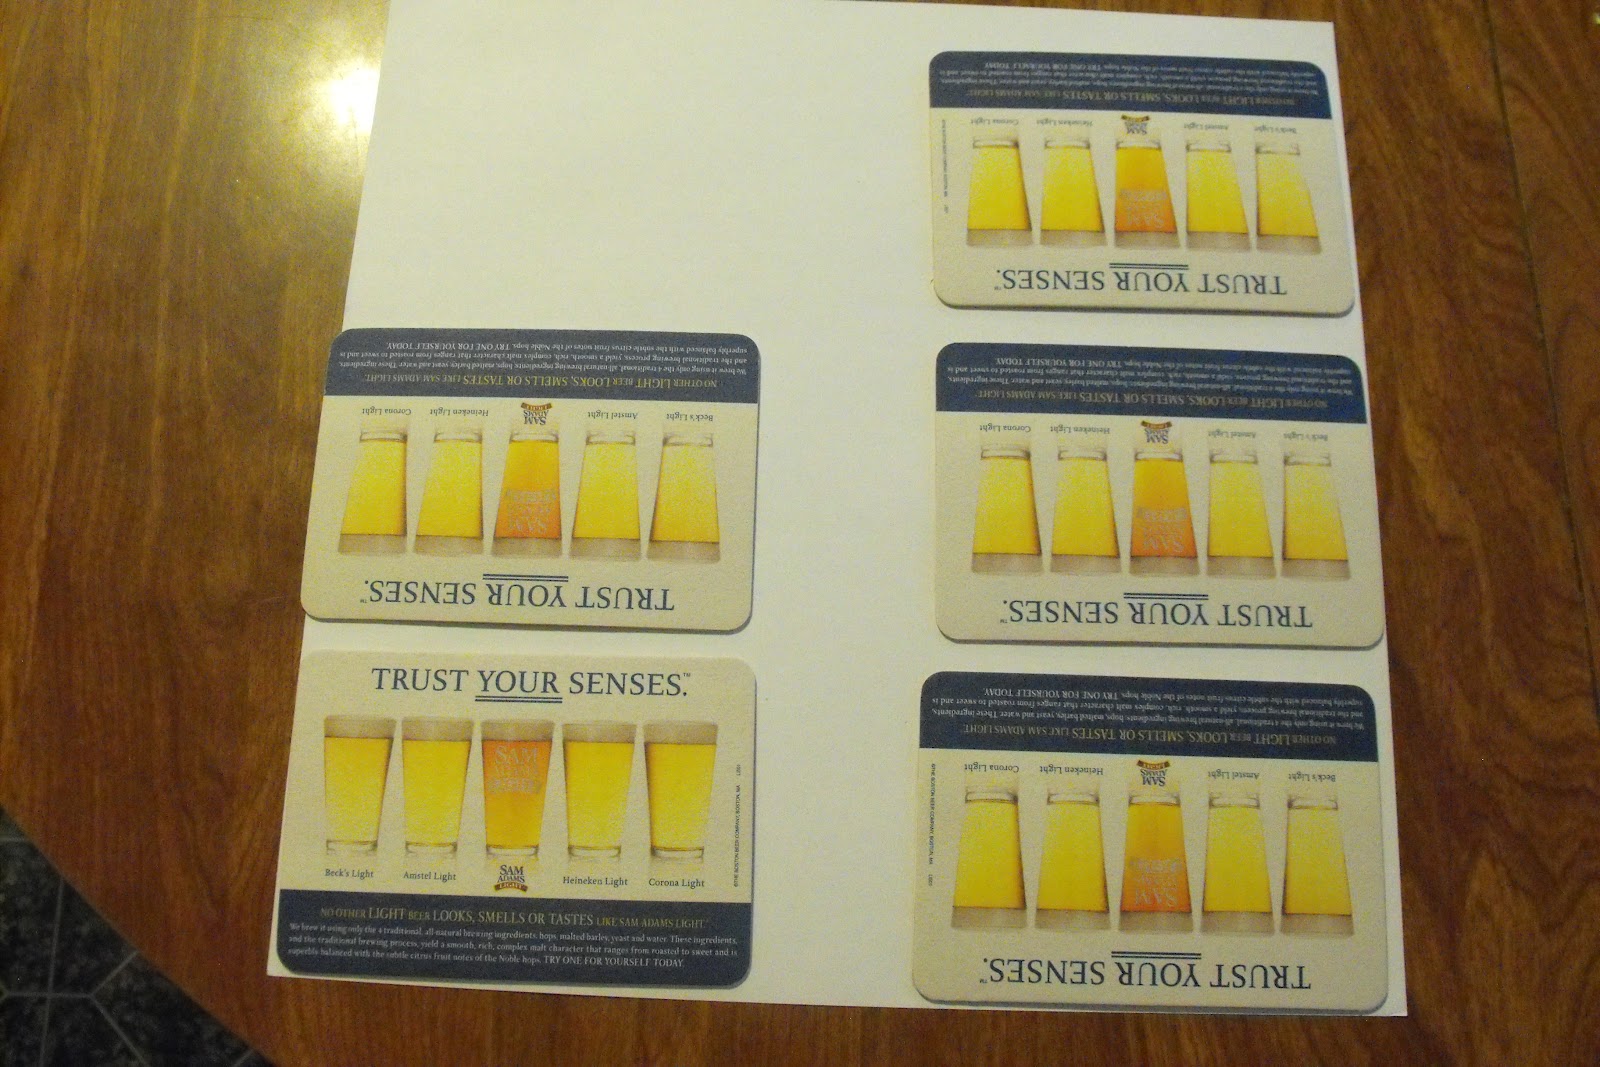
Speaking of ladybugs, I finally got the other coaster project finished, and it's a ladybug dominoes game! The coasters I used for this game are rectangular, and so they were perfect for dominoes.


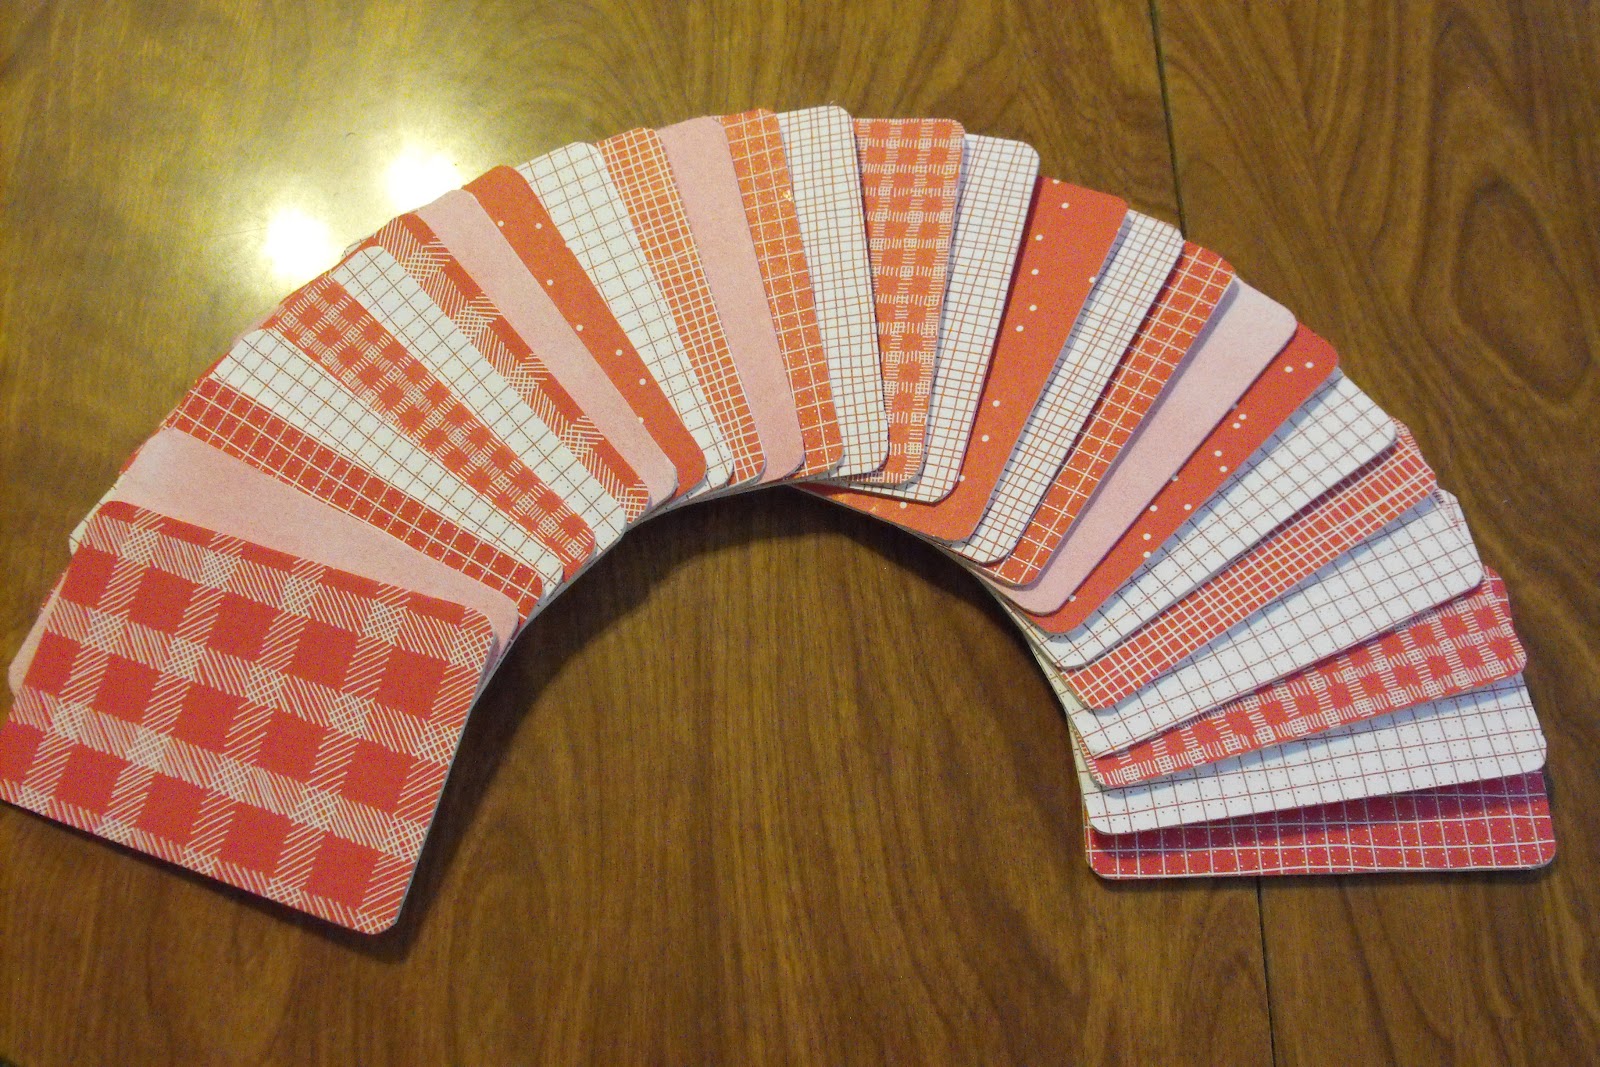
I started by choosing  some different papers that all coordinate well, and glued the coasters to them and cut them out.


 Then I chose some more coordinating papers, and glued the other side. For more complete instructions on how to do this, go to http://grammcrackers.blogspot.com/2012/03/memory-game-and-my-first-giveaway.html . I chose red with white for the backs of the cards and white with red for the fronts. The one that looks pink is actually really light red with cloud-y white on it.


Then I cut them all out, sanded the edges and got them ready to finish. I chose a little ladybug stamp I had and used black paint to stamp it with. I brushed a very light coat on the stamp so I wouldn't get too much paint on it. Some turned out darker than others, but that's the beauty of handmade, right? No two things the same.


I also had a cute little squiggly-line stamp that I used for the dividing lines. After the black paint was dry, I used a permanent red marker to color the ladybugs.

Then, I had to decide what to do with the other side of the dominoes. I tried to think of another game I could put on that side, but again, my grands are really good at memorizing, so I knew that either the number of bugs or the colors would give away what was on the other side, so I just decorated it instead. I got a little block of wood and some sticky-back fun foam, and made a big stamp to match the little one. I stamped the little stamp on plain white paper and enlarged it to the size I wanted on my copier. Then I traced it onto the paper backing of the fun foam and cut it out. I made two layers so it would be thick enough not to get marks from the block when I stamp it. It was kind of tricky cutting those dots, but I got it.


You can see the two layers. I used more black paint and stamped this on the backs of the dominoes, let it dry, and used the red marker again to color them.


And they turned out so cute!


Because I used paint and permanent marker, they don't have to be coated with anything, but I want them to be wipe-able, so I will be putting a coat of water-base varnish or decoupage medium on them.

So there's our new project! I know that most of you won't have beer coasters hanging around, but you can use chipboard from the backs of writing tablets, drawing tablets, etc. These will not be too hard to cut, because they have all straight sides. And they don't have to have rounded corners. Make some today! You will have fun making them and playing with them. Let the kids help, too.


Thursday, April 19, 2012

Tic-Tac-Toe

How is your day today? I think we need to exchange weather information, to see what the difference is between yours and ours. We are having a rainy, overcast day, and some people (grandpa) don't like that, but I love rainy days! They make me want to curl up with a good book and a cup of hot chocolate!

I finally got a slice of tree that I've been wanting for a while now. The people in back of us decided to cut down a bunch of trees on the hillside between our houses, and the guys who were doing the cutting were nice enough to cut me some rounds! And they gave me a chunk so that I could have my husband cut a few more.


The one I was really wanted, though, was this one.


I wood burned a Tic-Tac-Toe board on one side and an IQ game on the other side. A while back, I had the kids gather small rocks and we painted them like bugs. They've been just waiting for the tree round so the game would be complete.


Now we have the whole game!!


Aren't they cute? If you don't have a wood burner, you could use a permanent marker to make the lines. If you use a brown one, they will look a lot like the wood burned lines. And you can buy tree rounds at hobby and craft stores, you don't have to wait for some nice tree-trimmer-guy to take pity on you and slice you a tree. We all had a lot of fun making these games, and now we're having fun playing them! And I know you will, too. My only suggestion would be to make sure all your rocks are little. Some of ours are a bit big, and they take up a lot of room on the IQ side, as you can see. But, hey! They still work! So have some fun and make yourselves a cool game. Goodbye for now and love to all,


Tuesday, April 17, 2012

Tuesday's Treasures!

Happy Tuesday! Hope you are all enjoying the nice Spring weather. It has been absolutely beautiful here! The yard sales and garage sales are starting up again, after a break because of the weather. We've had quite a bit of rain, which is good for nature, but bad for yard sales. Anyway, we went yard-saling this last weekend, and found a couple of things. First of all, I found the perfect size basket for a nest for Crackers. I put a little colored shredded paper in it to pad her bottom, and she is quite comfortable!


Then, I found a Tupperware Jello mold! Two of them, in fact. A small one and a large one. The small ones needed a lid, but other than that they are OK. And I just happened to have a lid that fit!


I fixed Jello that very night for dessert, using the large mold. It holds two small packages or one large package, with a little room for some fruit. It was yummy, as Jello always is, but this time it looked good, too.
At the last sale we hit, I found something else for Crackers. You know, her legs are so long that sometimes she's very uncomfortable when she sits. Well, there it was....the perfect chair. It is a bamboo, decorative doll high chair, and it is perfect! Her legs hang down so her knees aren't in her face, and her feet fit the rung just right.


It's just right! She loves it and sits in it all the time. Doesn't she look cute? Well, those were our Tuesday Treasures for this week. We are both very happy with our purchases. And it only cost us $4.25 total! Not bad, huh?

Well, I'm finishing Penelope, Crackers cousin, this week and completing the new coaster project. I also have a lot of journal pages and ATC's to make (Artist Trading Cards) and send out, so I will be very busy. But I'm not complaining! Busy is better than bored. So until next time, goodbye and love to all,


Wednesday, April 11, 2012

Happy Easter!

Well, I hope you all had a Happy Easter! We had fun, decorating eggs and then hunting them on Sunday afternoon.


The rabbit made a visit.

Those pesky egg puzzles!


We had 35 plastic eggs and 35 real eggs to hunt.
They came out pretty even, too.
Then we had a wonderful Easter ham dinner, cooked by grandpa, with a little help from Kristen.

YUMMY!! And you can see that we used the good china, too. Cameron was
very glad, since there was a lot of dishes already and it was his night!
Last, but NOT least, we mustn't forget Crackers! She was surprised by her very first Easter basket! And it had a white chocolate rubber ducky in it!

Crackers had her very own chocolate ducky and some big bubble gum eggs.

Hope you had as much fun and good food as we did. Goodbye for now and love to all,


Thursday, April 5, 2012

The Peeps Project ends.

I know. Peeps can be eaten all year long, so the Peeps Project COULD go on for a long time, but that's not gonna happen. Sorry. So here are the last of the Peeps ideas, at least for now. First of all, let me show you the project Crackers and I did. We made a wreath and added Peeps to it, and it came out so cute!


We started with a piece of poster board, and traced a big Tupperware bowl for the circle. Then we traced a smaller bowl in the middle, to make a ring. We cut out the ring, and then taped it shut where we cut into it to cut the hole out. (That tape won't show, so it doesn't matter that it's bright turquoise.)


Then we glued Easter grass all over the ring, and glued plastic Easter eggs around the circle. We thought it needed a little more ooomph! so we also glue some curly ribbon pieces to it. It looked really cute!


Were we done? Hmmm....not sure.........Nope! Not quite!  It needed some Peeps!


Then Crackers decided she wanted her picture taken with it! Isn't she cute?


Now, for some more ideas!
10 ways to decorate with Peeps

Peeps Cookies!
Peeps Sunflower Cake

Another version of the centerpiece. This one can be purchased already
made from FlowerDuet.com .
Paint chip Peeps! Amazing!
Peeps totebag
Pretzel nests for the Peeps

PEEPza Pie!
Wow! What a feast!

Okay. I'm all Peeped out! Hope you enjoyed the ride. There are so many ideas out there for using Peeps. Just Google it and find out. Goodbye for now and love to all,