Showing posts with label crafts. Show all posts

Tuesday, October 30, 2012

Hallowe'en is near!

Well, Halloween is almost here! Two more days. My grandkids are so excited! Hally has decided to be a pirate, but I still don't know about Cameron. We are probably going to Rogue River, where there is a free Halloween Carnival and trick-or-treating through the downtown shopping area. Then there is free hot dogs and chili! So it sounds like a pretty good place to go.

My daughter, Amanda, made the cutest Halloween blocks. She saw them on Pinterest and decided to make her own. We looked at the originals and got measurments, then she had the wood cut and went to town. Of course, hers are not exactly like the ones on Pinterest, but they are better, because SHE made them.

Aren't they cute?

Then, her oldest buy just turned 8 and got to start Cub Scouts. He was very excited to go, but a little shy, so his momma went with him to his first meeting. And if mom goes, then little brother has to go, too! Well, it just so happened that they were making Halloween blocks, too, and she had enough for both boys to make a set. You talk about two excited little boys! They were so proud when they brought them home and mom took pictures to send to me!


The top set is Cyric's and the bottom set is Rafferty's, who had just a little help from mom. I think they did a great job! It's a really cute idea....Just 2x4's and some paint, with googly eyes and crepe paper for the mummy.


These are the two proud boys. They'd just had their hair cut when these pictures were taken. 

That's it for today! I am wishing all of you a Happy Hallowe'en and here's hoping you get lots of loot and have lots of fun! Love to all,


Wednesday, August 1, 2012

Photo bookmarks

We made bookmarks yesterday. I saw these cute photo bookmarks all over the Internet and decided to try them with the kids. We took several photos before we got one that looked right, so I'll tell you the secret: give them a water bottle to hold and make them put their hands way down to the bottom so the bottom of the bottle doesn't show (the top will be cut off) and then make them stretch on their tippie-toes really far. If they make a face or lose their balance, that's even better! You'll see what I mean in these photos.


.

Hally actually has one foot in off the floor as she starts to fall over, which makes it really look like she's hanging in mid-air, while Cameron has his tongue sticking out, which makes him seem to be hanging on for dear life! And none of that was planned. I just happened to capture it in the photos.

Print out you photos. I chose a 5x7 size, but you can choose your own. Then cut the kids out. Don't leave any of the background when you cut, because that will ruin the illusion. Glue them onto cardstock and cut them out again. I left an edge of cardstock around mine so there would be a little of the bright color showing on the front. And I just used a glue stick, because the next step takes care of keeping it in place. Cover the bookmark, front and back, with clear contact paper, and cut out again, leaving a little edge of contact around the edge to keep the bookmark sealed. Punch a hole at the top of the hands and put a tassel or piece of ribbon through it, and !Voila! When you put the bookmark in a book, they look like they are hanging from the ribbon or tassel. The kids love theirs, and I bet yours will, too.


Aren't those cute? I think they would make cute little somethings to send to all the grandparents, aunts, uncles, cousins, etc. You could make Valentine's out of them, too. Teacher gifts, etc. etc. etc. Have fun with it. We will probably make a bunch more, using different pictures. If you make some, send me a picture and I will post it here on the blog.

Just one last thing. Crackers had to get in on the fun, too!


You can see how I made it look like the rope is around her foot. Now go take some pictures and have some fun. Crackers and I will be waiting for some photos! Love to all,

Thursday, April 26, 2012

Ladybug Dominoes

Hello, hello! It's been one busy week for me. How about you? We got a name suggestion for the ladybug. Hannah from Indianapolis, Indiana, suggested Ms Lady Flower. That's a cute name, Hannah. Anyone else got any ideas? If you can't remember what the ladybug looks like, go to http://grammcrackers.blogspot.com/2012/02/new-friend.html  and check her out. She really needs a name, so let's have some more suggestions!

We are working on our garden. I planted from seed this year, for the first time, and it's so exciting! The cucumbers are growing so fast you can almost see them grow!


This is after just 5 days! It's like we have a little cucumber forest. And the little tiny plants next to them are tomatoes, and they are coming up pretty good, now, too. The peppers haven't peeked out yet, but the gourds are coming up. So much fun!

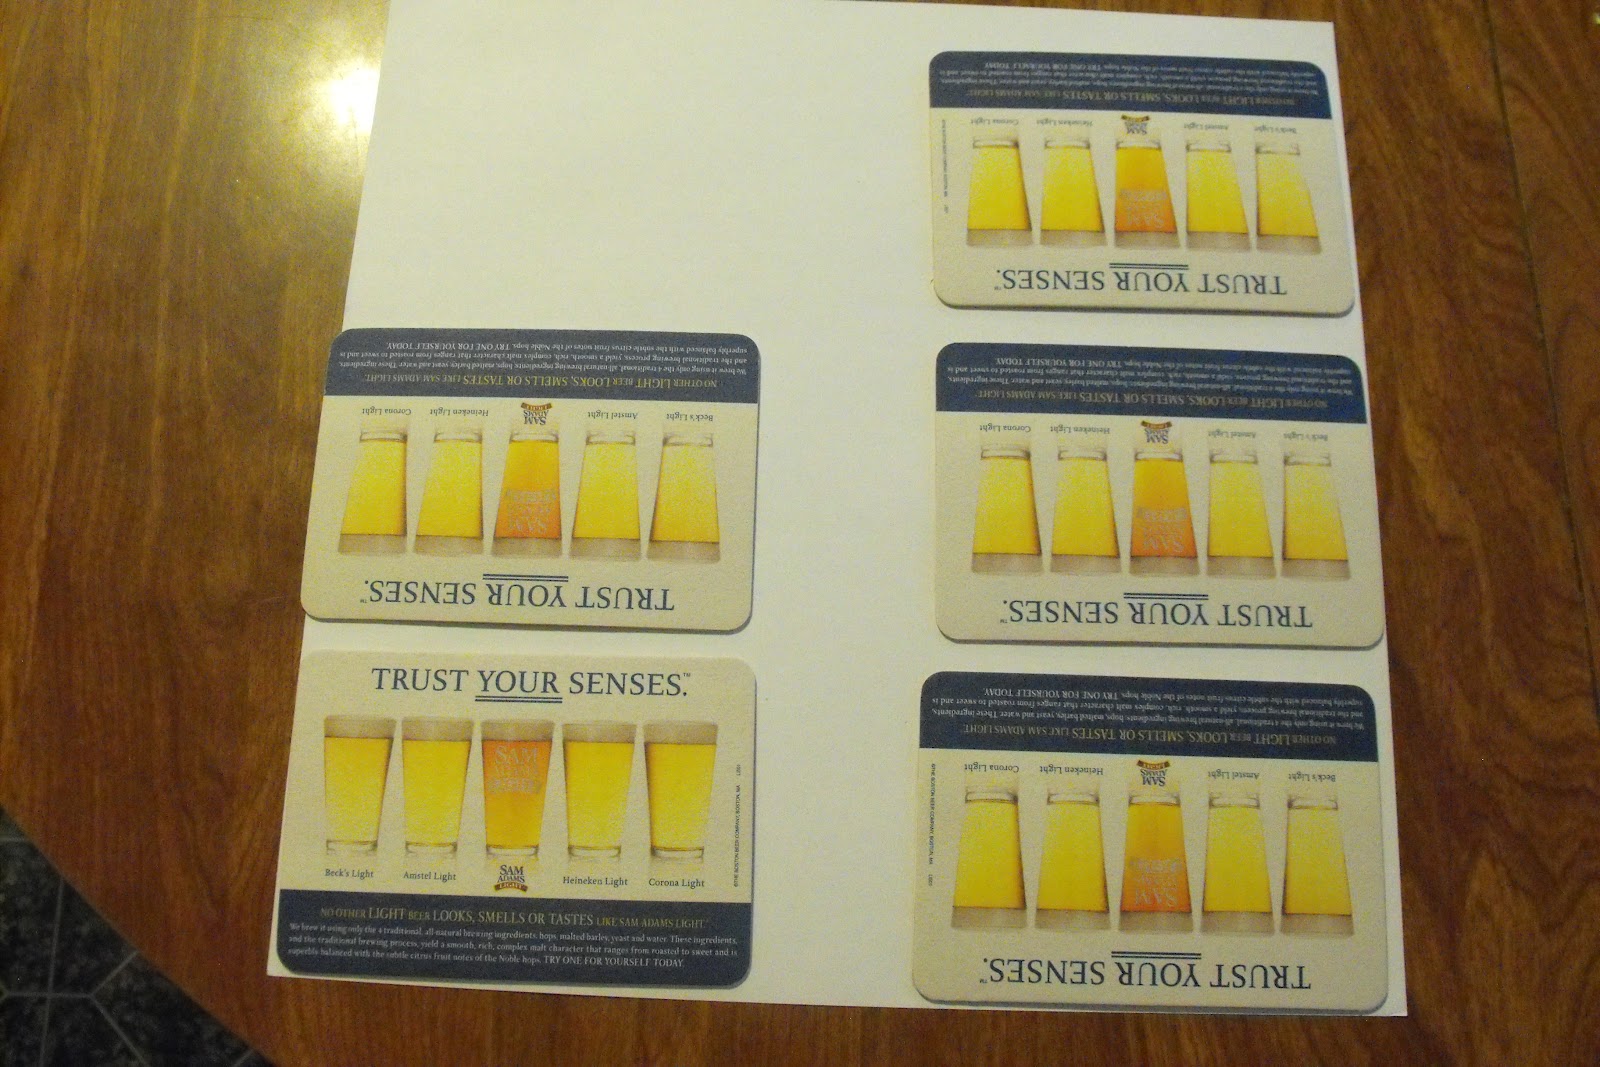
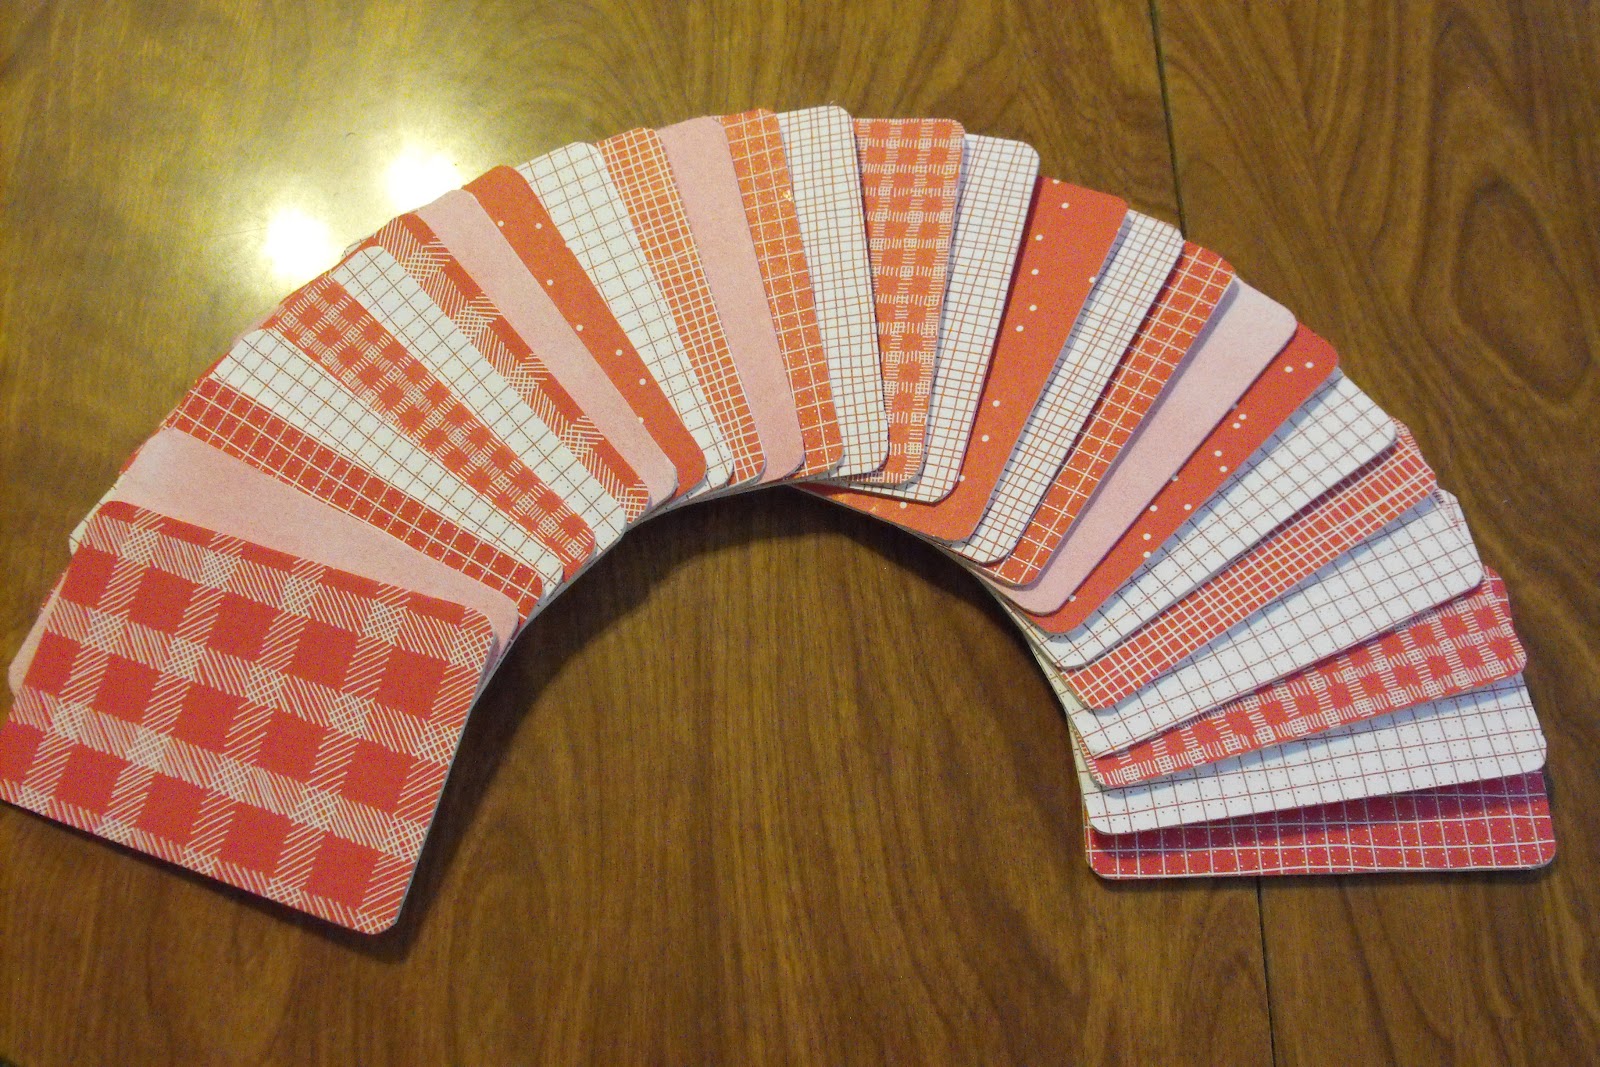
Speaking of ladybugs, I finally got the other coaster project finished, and it's a ladybug dominoes game! The coasters I used for this game are rectangular, and so they were perfect for dominoes.


I started by choosing  some different papers that all coordinate well, and glued the coasters to them and cut them out.


 Then I chose some more coordinating papers, and glued the other side. For more complete instructions on how to do this, go to http://grammcrackers.blogspot.com/2012/03/memory-game-and-my-first-giveaway.html . I chose red with white for the backs of the cards and white with red for the fronts. The one that looks pink is actually really light red with cloud-y white on it.


Then I cut them all out, sanded the edges and got them ready to finish. I chose a little ladybug stamp I had and used black paint to stamp it with. I brushed a very light coat on the stamp so I wouldn't get too much paint on it. Some turned out darker than others, but that's the beauty of handmade, right? No two things the same.


I also had a cute little squiggly-line stamp that I used for the dividing lines. After the black paint was dry, I used a permanent red marker to color the ladybugs.

Then, I had to decide what to do with the other side of the dominoes. I tried to think of another game I could put on that side, but again, my grands are really good at memorizing, so I knew that either the number of bugs or the colors would give away what was on the other side, so I just decorated it instead. I got a little block of wood and some sticky-back fun foam, and made a big stamp to match the little one. I stamped the little stamp on plain white paper and enlarged it to the size I wanted on my copier. Then I traced it onto the paper backing of the fun foam and cut it out. I made two layers so it would be thick enough not to get marks from the block when I stamp it. It was kind of tricky cutting those dots, but I got it.


You can see the two layers. I used more black paint and stamped this on the backs of the dominoes, let it dry, and used the red marker again to color them.


And they turned out so cute!


Because I used paint and permanent marker, they don't have to be coated with anything, but I want them to be wipe-able, so I will be putting a coat of water-base varnish or decoupage medium on them.

So there's our new project! I know that most of you won't have beer coasters hanging around, but you can use chipboard from the backs of writing tablets, drawing tablets, etc. These will not be too hard to cut, because they have all straight sides. And they don't have to have rounded corners. Make some today! You will have fun making them and playing with them. Let the kids help, too.


Thursday, April 19, 2012

Tic-Tac-Toe

How is your day today? I think we need to exchange weather information, to see what the difference is between yours and ours. We are having a rainy, overcast day, and some people (grandpa) don't like that, but I love rainy days! They make me want to curl up with a good book and a cup of hot chocolate!

I finally got a slice of tree that I've been wanting for a while now. The people in back of us decided to cut down a bunch of trees on the hillside between our houses, and the guys who were doing the cutting were nice enough to cut me some rounds! And they gave me a chunk so that I could have my husband cut a few more.


The one I was really wanted, though, was this one.


I wood burned a Tic-Tac-Toe board on one side and an IQ game on the other side. A while back, I had the kids gather small rocks and we painted them like bugs. They've been just waiting for the tree round so the game would be complete.


Now we have the whole game!!


Aren't they cute? If you don't have a wood burner, you could use a permanent marker to make the lines. If you use a brown one, they will look a lot like the wood burned lines. And you can buy tree rounds at hobby and craft stores, you don't have to wait for some nice tree-trimmer-guy to take pity on you and slice you a tree. We all had a lot of fun making these games, and now we're having fun playing them! And I know you will, too. My only suggestion would be to make sure all your rocks are little. Some of ours are a bit big, and they take up a lot of room on the IQ side, as you can see. But, hey! They still work! So have some fun and make yourselves a cool game. Goodbye for now and love to all,


Monday, April 2, 2012

Bunny bunting and a birthday

Easter is coming fast! We decorated last week, but the kids wanted to make something, so we made a bunny bunting. I got the idea from Jenn at Clean and Scentsible. I just drew the backside outline of a bunny and made two patterns, one for each child. They cut the bunnies out of white cardstock. They are about 5"x 8" and we could fit two of them side by side on each sheet of cardstock. Then I used my big 3" circle punch to make patterns for the tail. The kids traced them on the back of patterned scrapbook paper and used scalloped scissors to cut them inside the line. I punched out solid cardstock circles and they glued theirs onto them. We attached the tails with a square of double-sided foam tape to give them some dimension. I think they turned out pretty cute!


We punched holes in the ears and strung them on some cotton yarn I have that is nice Easter colors.


Hally also had a birthday last week, so she got to have a friend over for the night, which turned into two nights, so they did a project of their own.


They went out to the wood scrap pile and picked out a couple of pieces of wood and painted name signs.


We also did their silhouettes.


We used scrapbook paper instead of black paper. We wanted some color! It really is easy to keep kids happy. Occupy their hands and you've won at least half the battle.
A fairy land cake.

She's eleven now!
Crackers and I are working on the new coaster project, so don't give up hope. It's just taking a little longer to make sure we do it right so we can show you the easiest way. Goodbye for now and love to all,