Showing posts with label kids games. Show all posts

Thursday, April 26, 2012

Ladybug Dominoes

Hello, hello! It's been one busy week for me. How about you? We got a name suggestion for the ladybug. Hannah from Indianapolis, Indiana, suggested Ms Lady Flower. That's a cute name, Hannah. Anyone else got any ideas? If you can't remember what the ladybug looks like, go to http://grammcrackers.blogspot.com/2012/02/new-friend.html  and check her out. She really needs a name, so let's have some more suggestions!

We are working on our garden. I planted from seed this year, for the first time, and it's so exciting! The cucumbers are growing so fast you can almost see them grow!


This is after just 5 days! It's like we have a little cucumber forest. And the little tiny plants next to them are tomatoes, and they are coming up pretty good, now, too. The peppers haven't peeked out yet, but the gourds are coming up. So much fun!

Speaking of ladybugs, I finally got the other coaster project finished, and it's a ladybug dominoes game! The coasters I used for this game are rectangular, and so they were perfect for dominoes.
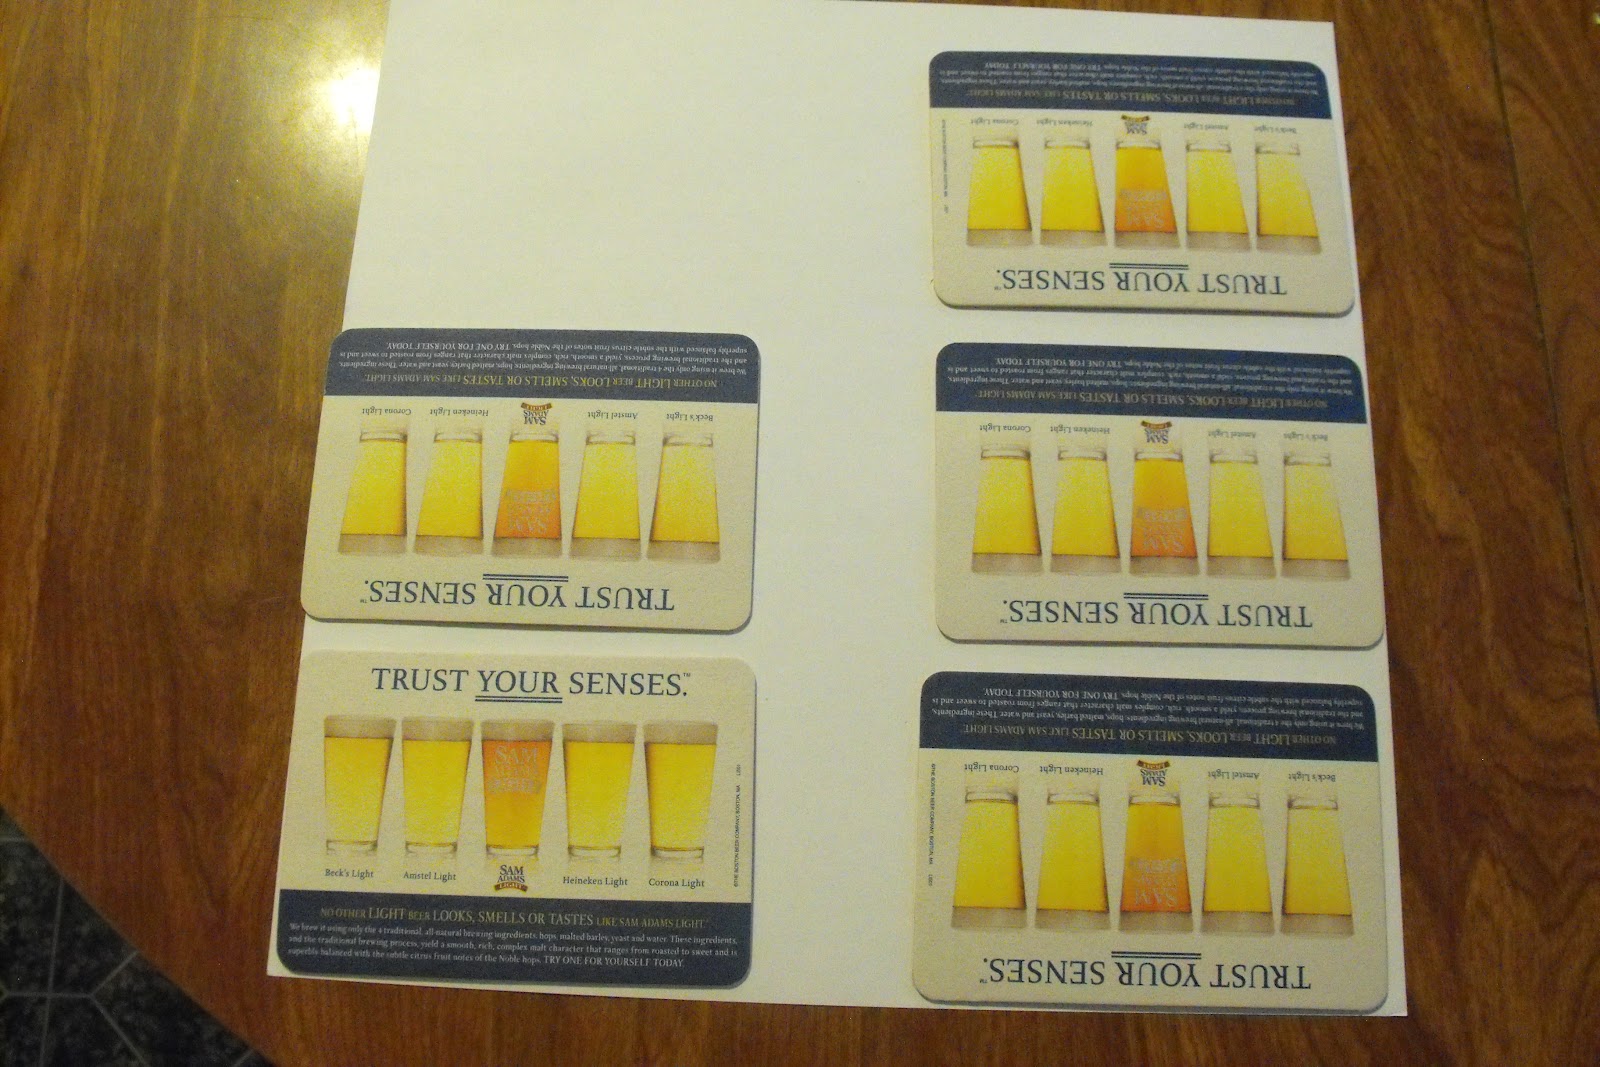

I started by choosing  some different papers that all coordinate well, and glued the coasters to them and cut them out.


 Then I chose some more coordinating papers, and glued the other side. For more complete instructions on how to do this, go to http://grammcrackers.blogspot.com/2012/03/memory-game-and-my-first-giveaway.html . I chose red with white for the backs of the cards and white with red for the fronts. The one that looks pink is actually really light red with cloud-y white on it.

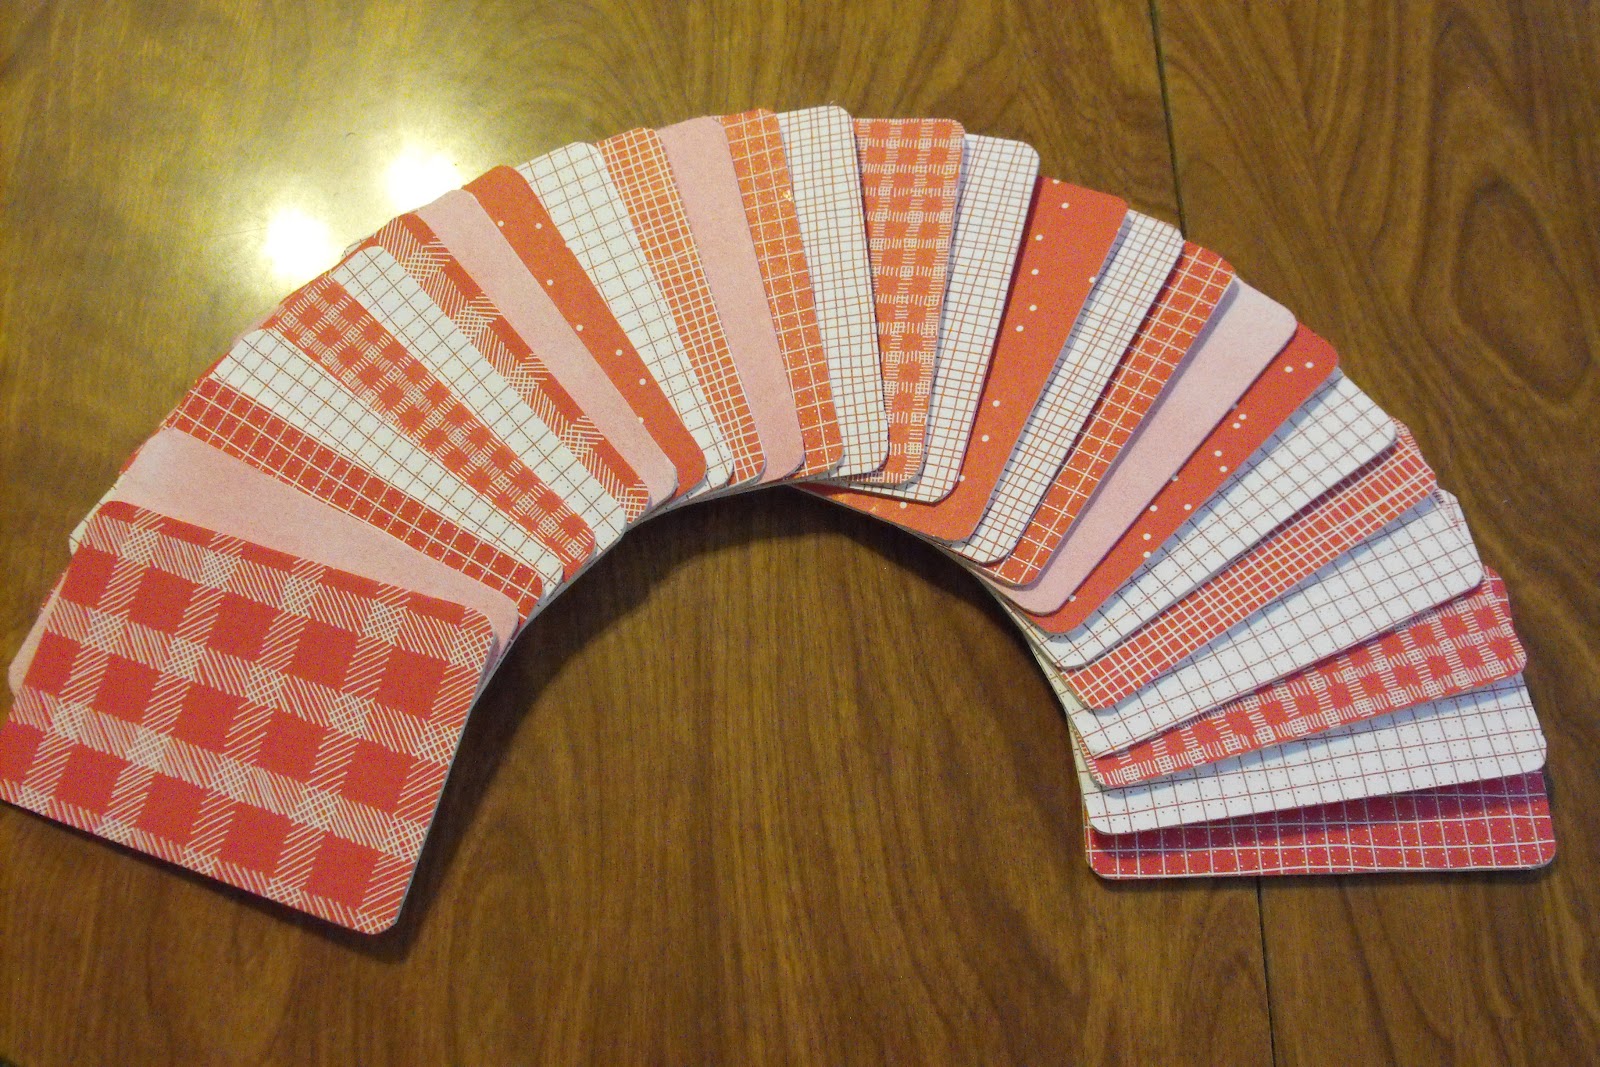

Then I cut them all out, sanded the edges and got them ready to finish. I chose a little ladybug stamp I had and used black paint to stamp it with. I brushed a very light coat on the stamp so I wouldn't get too much paint on it. Some turned out darker than others, but that's the beauty of handmade, right? No two things the same.


I also had a cute little squiggly-line stamp that I used for the dividing lines. After the black paint was dry, I used a permanent red marker to color the ladybugs.

Then, I had to decide what to do with the other side of the dominoes. I tried to think of another game I could put on that side, but again, my grands are really good at memorizing, so I knew that either the number of bugs or the colors would give away what was on the other side, so I just decorated it instead. I got a little block of wood and some sticky-back fun foam, and made a big stamp to match the little one. I stamped the little stamp on plain white paper and enlarged it to the size I wanted on my copier. Then I traced it onto the paper backing of the fun foam and cut it out. I made two layers so it would be thick enough not to get marks from the block when I stamp it. It was kind of tricky cutting those dots, but I got it.


You can see the two layers. I used more black paint and stamped this on the backs of the dominoes, let it dry, and used the red marker again to color them.


And they turned out so cute!


Because I used paint and permanent marker, they don't have to be coated with anything, but I want them to be wipe-able, so I will be putting a coat of water-base varnish or decoupage medium on them.

So there's our new project! I know that most of you won't have beer coasters hanging around, but you can use chipboard from the backs of writing tablets, drawing tablets, etc. These will not be too hard to cut, because they have all straight sides. And they don't have to have rounded corners. Make some today! You will have fun making them and playing with them. Let the kids help, too.


Thursday, April 19, 2012

Tic-Tac-Toe

How is your day today? I think we need to exchange weather information, to see what the difference is between yours and ours. We are having a rainy, overcast day, and some people (grandpa) don't like that, but I love rainy days! They make me want to curl up with a good book and a cup of hot chocolate!

I finally got a slice of tree that I've been wanting for a while now. The people in back of us decided to cut down a bunch of trees on the hillside between our houses, and the guys who were doing the cutting were nice enough to cut me some rounds! And they gave me a chunk so that I could have my husband cut a few more.


The one I was really wanted, though, was this one.


I wood burned a Tic-Tac-Toe board on one side and an IQ game on the other side. A while back, I had the kids gather small rocks and we painted them like bugs. They've been just waiting for the tree round so the game would be complete.


Now we have the whole game!!


Aren't they cute? If you don't have a wood burner, you could use a permanent marker to make the lines. If you use a brown one, they will look a lot like the wood burned lines. And you can buy tree rounds at hobby and craft stores, you don't have to wait for some nice tree-trimmer-guy to take pity on you and slice you a tree. We all had a lot of fun making these games, and now we're having fun playing them! And I know you will, too. My only suggestion would be to make sure all your rocks are little. Some of ours are a bit big, and they take up a lot of room on the IQ side, as you can see. But, hey! They still work! So have some fun and make yourselves a cool game. Goodbye for now and love to all,


Tuesday, March 27, 2012

Memory game and my first Giveaway!

Good Morning! I hope you all had a nice weekend. I have spent the last few days trying to catch up! I have a cute project for you today, though. Do you grandparents have grands that live away from each other? Do you grands have cousins that you hardly ever see? Well, here is a fun way for all the cousins to be able to remember each others faces, so when they DO get together, they know who is who!  It's a matching game, with photos of the cousins on one side and cute scrapbook paper on the other side. It's really easy to make, so let's get started.

We used to live in a little, tiny town that only had a couple of restaurants and they both had bars in them. (It was, after all, Nevada.) I myself do not go to bars, I am LDS (Mormon). But there isn't much choice when that's all there is, and the bar was separated by a wall, because they were family dining establishments, too. Anyway, a few years ago, when the beer companies started furnishing them with these neat coasters, I started collecting them. I didn't know what I would do with them, but they were so cool that I knew I would find a use. Well, I have. I get to use the cool coasters and cover up the beer advertisements, all in one fell swoop! Now, if you don't have access to the whole alcoholic beverage coaster thing, you can buy chipboard coasters at Target or Michael's or even at JoAnn's, and sometimes four for a dollar! I don't know about the dollar store - I never thought to look fort them there. (BTW-I have round and square and rectangle ones, but I chose to use the round ones to make it more fun.)


Anyway, decide how many you need for your game and choose some nice scrapbook papers to cover one side.I am using 16 coasters so the game will be square when all laid out. I didn't have enough paper to do them all in one design, so I chose two coordinating prints, eight coasters each. I actually thought at first that I might do each one a different paper and use up some scraps, but then I remembered that my little ones are very good at memorizing. The two little grandsons had a Backyardigans memory game, and some of the corners got bent, the backs a little scratched, etc. and they knew exactly what was on the other side of every one of those dinged cards! So I decided different papers was NOT a good idea. I think it will be a little harder with just two prints. Lay your paper with the right side down and glue your coasters onto the paper. Put them close so you can as many on one sheet as possible and don't waste paper. I used decoupage medium to glue mine. I let them dry for a little while I worked on the can.


The can is a little cookie can from the dollar store. It's like those Danish cookies that you can get in the giant blue cans, only these are miniature! I didn't know what I would use it for when I bought it, but I bought one just because I knew I would need it for something, I cut a strip of one of my papers to go around the can ( it actually took a part of another one) and a circle from the other one to go on the top. I attached them with scrapbook adhesive, the permanent kind.


Then I cut around my coasters and sanded the edges. I sand the edges for two reasons: one, I like the way it looks, and two, it seems to keep the edges from lifting. After I was finished with the patterned side, I started looking for photos of the kids that I could use for the game side of the coasters.


Print your photos and glue them to the coasters the same way you did the scrapbook paper. Sand the edges just a little and let them dry over night. Now, if you want them to be a little more durable, you can give them a coat of decoupage medium or make a mixture of 2 parts glue to one part water and use that. Give them at least two good coats, drying completely between coats. And that's it! A cute memory game that will help the cousins to know one another! (Or at least to recognized one another.)


Now, I didn't put family photos on mine, because I am going to have a giveaway! My very first one!Leave me a comment and tell me what you like or don't like about this blog and your name will go into a drawing for this game. You can put your own photos on the coasters and have a cute family game! Or you can email your photos to me and I will do it for you. And you will get a personalized card from Crackers, too!  So everyone go - NOW - leave a comment! I really want to give this game away to someone who will love it. Be sure to leave me your name and email address so I can get in touch with you if you win.

Crackers is my crash test duck!

I have another coaster project coming up, and you will really like this one, too. It will actually be two games in one! Crackers is so excited about this one, so keep a watch out for it. Goodbye and love to all,


Linking to these linky parties:
linky party